How to Troubleshoot Garage Door Wall Button Failure
Dad And Daughter Garage Door Service

Garage door remote works but wall button does not what to check—learn step-by-step fixes for your wall console and logic board today.
How to Troubleshoot Garage Door Wall Button Failure
What to Check When Your Garage Door Remote Works but the Wall Button Does Not
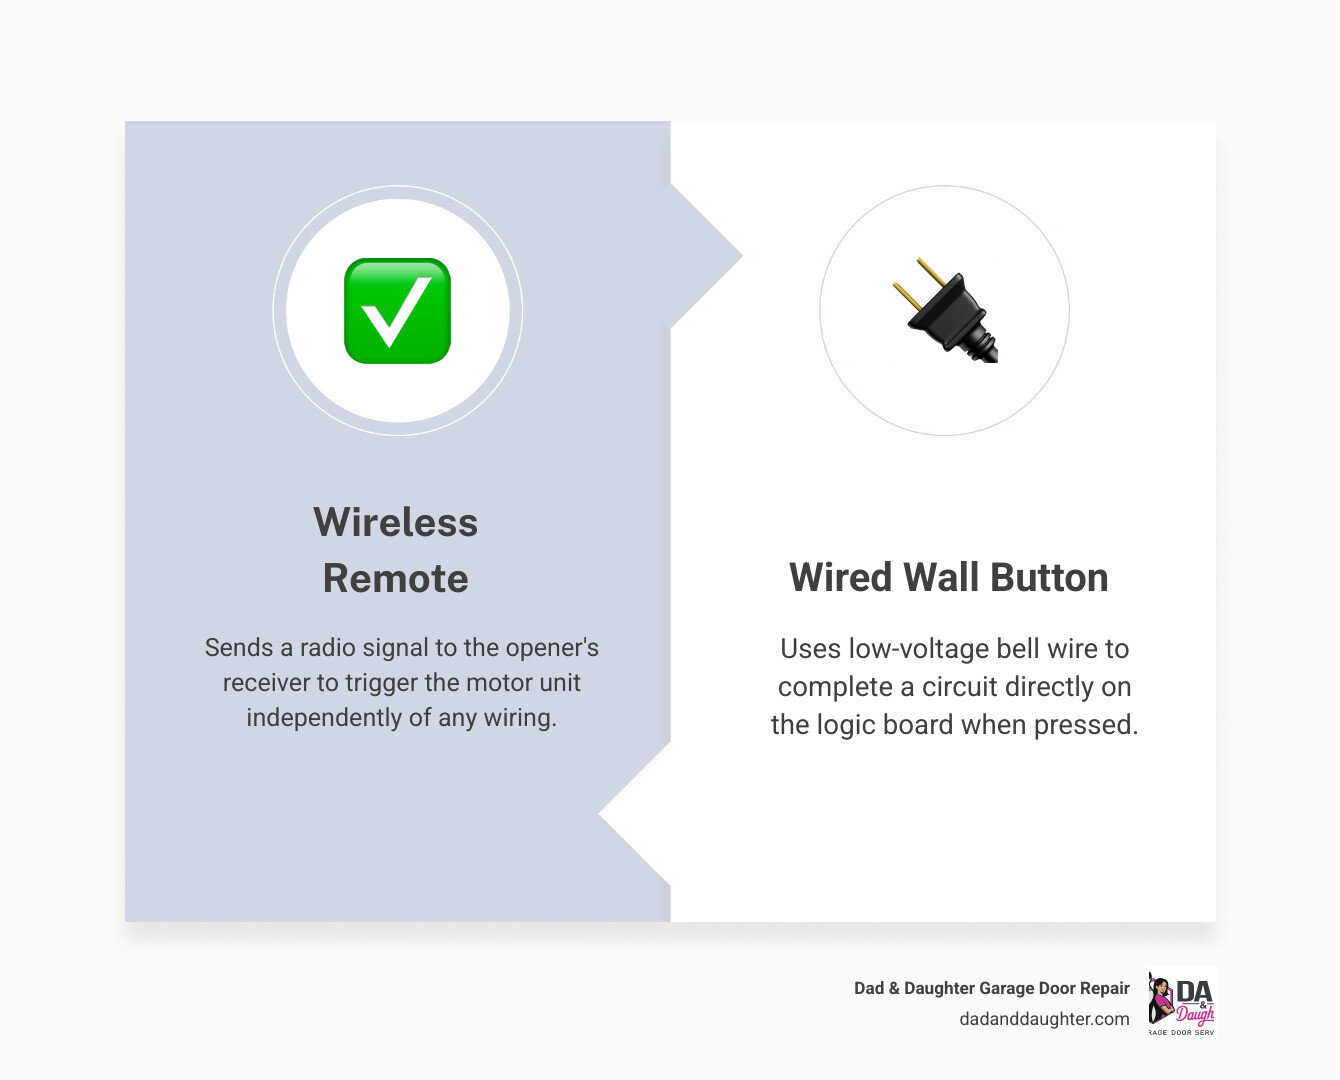
If you’re dealing with a situation where your garage door remote works but wall button does not what to check first can feel overwhelming — but the fix is usually simpler than you’d expect. The remote and the wall button are two completely separate systems. Your remote sends a wireless signal to the opener’s receiver, while the wall button is hard-wired directly to the motor unit. That’s exactly why one can fail while the other keeps working just fine.
Here’s a quick look at the most common things to check:
- Vacation/Lock mode — A lock feature on your wall panel can disable all wireless remotes while the wired button still works. In the reverse situation, the wall button wiring or contacts may be the culprit.
- Loose or broken wiring — The low-voltage wire running from the wall button to the opener can loosen, fray, or break over time.
- Worn button contacts — The internal contacts inside the wall console wear out with repeated use, especially after several years.
- Faulty logic board — A power surge or short circuit can damage the terminal on the control board where the wall button connects.
- Corroded or loose terminal screws — The wires at the opener’s terminal block may have worked loose, breaking the circuit.
Understanding which part of the system has failed is the key to getting your door working again — and in most cases, you can narrow it down with a few simple checks before calling anyone.
Garage Door Remote Works but Wall Button Does Not What to Check
When you press your hand-held remote control and the garage door glides open beautifully, but pushing the wall button does absolutely nothing, you can breathe a small sigh of relief. This symptom tells us that the opener’s motor, the main power supply, and the physical door mechanism (like the springs and cables) are in perfectly good working order.
The breakdown is isolated to the hard-wired circuit that connects the wall console to the motor unit. In a typical garage door opener system, the wall button acts as a simple low-voltage switch. When you press it, it completes a circuit that sends a signal to the receiver logic board, telling it to run the motor. Because this system is entirely separate from the wireless radio frequency receiver that listens to your remotes, a failure in the wiring or the button itself won’t stop your remotes from working.
If you are trying to figure out what’s going on, we always recommend brushing up on basic Garage Door Service Tips Hendersonville TN to keep your entire garage door system running smoothly year-round.

Garage Door Remote Works but Wall Button Does Not What to Check on the Wall Console
The wall console itself is the first place you should look. Over years of constant use, the physical components of the button can degrade. Here is what you should check directly on your wall station:
- The Lock/Vacation Switch: Many modern wall consoles feature a “Lock” or “Vacation” button. When activated, this mode blocks wireless remote signals from opening the door but still allows the physical wall button to work. However, if the wall button itself is unresponsive while remotes work, the lock mode might be experiencing an electrical glitch, or the console’s internal circuitry could be stuck in a state that prevents manual activation.
- Worn Membrane and Contacts: Inside the button, there are small metal contacts. When you push the button, these contacts touch and complete the electrical circuit. Over time, dust, moisture, and general wear and tear can coat or corrode these contacts. If you have to press the button incredibly hard or hit it at a specific angle to get a response, the contacts are likely worn out.
- The LED Indicator Light: Most modern wall buttons have a small LED light that stays lit to help you find the button in the dark. If this light is completely dead, it is a strong indicator that the wall console is not receiving low-voltage power from the opener, pointing directly to a wiring or terminal issue. If the light is flashing rapidly, it often indicates a short circuit in the wiring or a diagnostic error code from the opener.
For a deeper look into maintaining these wall consoles and other hardware components, check out our comprehensive Garage Door Service Guide Gallatin TN.
Garage Door Remote Works but Wall Button Does Not What to Check on the Logic Board
If the wall button and its immediate settings seem fine, the issue might lie at the opposite end of the wire: the receiver logic board inside the overhead motor unit.
- Loose Terminal Connections: The thin bell wires running from the wall button connect to specific terminals on the back or side of the opener. These wires are secured by small screws or push-in clips. Over time, the vibrations from the garage door opening and closing can cause these connections to wiggle loose.
- Corrosion or Power Surge Damage: The logic board contains sensitive microprocessors. A lightning strike or a sudden power surge can easily fry the specific circuit dedicated to the wall button while leaving the wireless receiver portion intact. Look for any visible burn marks, melted plastic, or a distinct electrical burning smell near the terminal block.
- Short Circuits: If the bare ends of the red and white wires at the terminal block are touching each other or touching a metal portion of the chassis, it creates a continuous short. This prevents the logic board from recognizing when you actually press the wall button.
To understand what you can expect when diagnosing these electronic components, read through our guide on Garage Door Service Expectations Spring Hill TN.
Step-by-Step Guide to Safely Testing Wall Button Wiring
Before you start poking around the wires of your garage door opener, safety must be your top priority. Even though the wiring running from your wall button to the motor is low-voltage (typically around 24 volts DC), you should still take precautions to avoid damaging the electronics or causing an unexpected door movement. Always keep your fingers, tools, and loose clothing clear of the garage door tracks, trolley, and springs while testing.
To safely isolate the problem, we use a simple diagnostic process called the “jumper test.” This test bypasses the entire length of wire running through your garage walls to determine if the issue is the button, the wire, or the logic board itself. You can learn more about general safety and repair protocols in our Garage Door Repair Guide Spring Hill TN.
How to Perform the Screwdriver Terminal Test
Follow these steps to safely test your opener’s terminals using a standard flathead screwdriver with an insulated handle:
- Locate the Terminal Screws: Climb a sturdy ladder to reach the overhead motor unit. Locate the terminal strip on the back or side of the unit where the thin bell wires are connected. Typically, the wall button wires connect to terminals labeled “1” and “2,” or colored “Red” and “White.”
- Observe the Wires: Take a quick photo of the wiring configuration with your phone so you know exactly where everything goes. Ensure the wires are clean and tucked neatly into their terminals without any loose copper strands touching adjacent terminals.
- Bridge the Terminals: Take your insulated screwdriver and touch the metal shaft simultaneously to both the red and white terminals (or terminals 1 and 2). By touching both terminals at the same time, you are “jumping” the circuit—simulating a press of the wall button.
- Watch the Opener’s Response:
- If the motor starts running and the door moves, your logic board is working perfectly! This means the problem is either a broken wire somewhere in your walls or a failed wall button console.
- If the motor does not respond at all, but your remotes still operate the door, the issue is almost certainly a failed circuit on your receiver logic board.
To help you visualize the diagnostic path, we have put together this comparison table:
| Symptom / Test Result | Likely Root Cause | Recommended Action |
|---|---|---|
| Jumper test activates the motor, but wall button does not | Broken wall button wire or failed wall console | Check wire for staples/breaks, or replace the wall button |
| Jumper test does NOT activate the motor, but remotes work | Damaged terminal circuit or faulty logic board | Replace the receiver logic board or contact a technician |
| Wall button LED is blinking rapidly | Short circuit in the wiring or diagnostic error | Inspect the entire wire run for pinches, staples, or bare copper |
| Wall button LED is completely dead | Broken wire or no power from the logic board | Perform the jumper test to check if the board is outputting power |
When to Repair vs. Replace Your Garage Door Opener Components
Once you have successfully diagnosed the issue, you have to decide whether a quick repair or a complete replacement is the best path forward.
If the jumper test worked and the motor ran, your logic board is fine. If you suspect the wire running through your walls is broken, you can run a temporary length of bell wire externally from the motor to the button to test it. If the temporary wire works, you simply need to route new low-voltage wire. If the wire is fine but the button is dead, replacing the wall console is an incredibly easy and inexpensive fix.
For older, basic garage door openers, some homeowners choose to replace a failed wall button with a standard, non-illuminated doorbell button. Because a basic wall button is just a “dry contact” switch (meaning it simply closes a loop to complete a circuit), a 50-cent doorbell button can work. However, keep in mind that if you use a standard doorbell button, you will lose access to advanced features like the light control button, the vacation lock switch, and motion-activated lighting.
On the other hand, if your jumper test failed to activate the motor, you are looking at a faulty logic board. Replacing a logic board is a highly technical task that requires matching the exact part number of your opener model. If your opener is more than 10 to 15 years old, investing in a new logic board might not be the most practical choice. In these cases, upgrading to a modern, quiet, and secure opener system is often the smarter long-term investment.
If you are trying to weigh your options, take a look at our detailed guides on Repair vs Replace Garage Door Motor Nashville TN and Garage Door Motor When to Repair vs Replace Chattanooga TN to help you make an informed decision.
Frequently Asked Questions About Wall Button Failures
We hear a lot of the same questions from homeowners dealing with stubborn wall buttons. Here are the answers to the most common queries we receive.
Why does my garage door only close when I hold down the wall button?
If your garage door opens normally with a single press of the button, but will only close if you stand there and continuously hold down the wall button, you are dealing with a safety sensor issue, not a broken wall button.
Modern garage door openers are equipped with infrared photo eyes mounted near the floor on either side of the door opening. If these sensors are dirty, misaligned, or blocked by an object (like a broom or a trash can), the opener’s safety system prevents the door from closing to protect people and property. Holding down the wall button acts as a manual safety override, telling the motor to close the door anyway.
To fix this, check that the indicator lights on both photo eyes are glowing solid (not blinking). Clean the lenses with a soft cloth and make sure they are pointing directly at one another. For more troubleshooting tips, check out our guide on Garage Door Repair Tips Gallatin TN.
Can I replace my garage door wall button with a standard doorbell button?
Yes, but only if you have an older, basic garage door opener that uses a simple two-wire connection without advanced digital communication. A standard doorbell button acts as a simple mechanical switch that temporarily closes the circuit when pressed.
However, if you have a modern opener (such as those using Chamberlain MyQ, LiftMaster Security+ 2.0, or Genie Series III technology), a standard doorbell button will not work. These modern systems use smart, computerized wall consoles that send encrypted serial data signals back to the logic board rather than a simple electrical short. Using a standard doorbell button on these systems can cause error codes or prevent the opener from functioning entirely.
How do I know if my garage door opener’s logic board is bad?
A bad logic board can manifest in several ways. The most common signs of a failed logic board include:
- The jumper test across the wall button terminals fails to activate the motor, even though your remotes work.
- The opener behaves erratically, such as opening or closing on its own without any command.
- The lights on the overhead unit flash in unusual patterns, or the unit makes a clicking sound but the motor doesn’t spin.
- The opener completely loses its memory and forgets programmed remotes shortly after you pair them.
- You notice visible burn marks, a strong chemical odor, or corrosion on the board after a recent thunderstorm or power outage.
If you suspect your logic board has suffered electrical damage, you can find more diagnostic advice in our guide on Garage Door Motor Repair Murfreesboro TN.
Conclusion
Dealing with a garage door wall button that refuses to cooperate is incredibly frustrating, especially when you are trying to head out the door for work or bring groceries inside. Fortunately, by following these simple troubleshooting steps, you can easily determine whether you are facing a simple wiring fix, a worn-out wall button, or a more complex logic board issue.
At Dad & Daughter Garage Door Repair, we have been serving homeowners across the Nashville area since 1996. As a family-owned, locally operated business with absolutely no private equity backing, we pride ourselves on delivering honest, dependable, and personalized service to our neighbors. Whether you live in Smyrna, Franklin, Murfreesboro, Gallatin, or anywhere in between, we are always here to help you get your garage door back in pristine working order.
If you would rather leave the wiring, ladder climbing, and diagnostics to the experts, we’ve got you covered. Schedule professional service with Dad & Daughter Garage Door Repair today, and let our family take care of yours!
Need Help?
Contact us today to discuss your needs. Our team is ready to help.
About the Author
Dad And Daughter Garage Door Service
More Articles
View All PostsRelated Articles

Why Nashville Building Codes Dictate Specific Wind Load Ratings
An unbraced garage door is the largest structural vulnerability during severe weather. See exactly what local inspectors look for to ensure your new build meets current wind load requirements.
Read Article
The Cost Difference Between Stamped Steel and Custom Wood Doors
Choosing between custom wood and steel means looking past the initial estimate. Understand the lifetime maintenance realities of each material before your next exterior upgrade.
Read Article
Preparing Your Commercial Warehouse Doors for Winter Deliveries
September is the critical window to secure your loading docks before freezing temperatures cause mechanical failures. Learn how to address degraded hardware and protect your Q4 shipping schedule.
Read ArticleReady to Get Started?
Whether you need a repair, maintenance, or a new installation, our expert team is here to help.